Create Custom iOS iMessage Stickers with AI Tools
Written on
Introduction to Custom Stickers
Today, we will explore the exciting world of custom iMessage stickers powered by AI. This feature introduced by iOS offers a fun way to personalize your text chats. Custom stickers bring a new level of creativity to your messages!
I've had an amazing time creating my own stickers over the past few weeks. My spouse jokes that I've gone a bit overboard, as our text conversations have transformed into a lively collage of stickers that enhance our playful exchanges.
There are two primary methods for crafting these custom stickers, each with its own charm. The first approach is quick and straightforward, requiring only your iPhone, while the second method offers greater precision and control through a computer or tablet with software like Photoshop or Affinity Designer.
The first method allows for rapid creation of stickers tailored to your immediate conversations, while the second method yields high-quality, professional-looking stickers that can even be sold.
Let’s dive in and discover these two methods!
Method 1: Quick Creation on iPhone
This approach to making custom iOS stickers is incredibly simple.
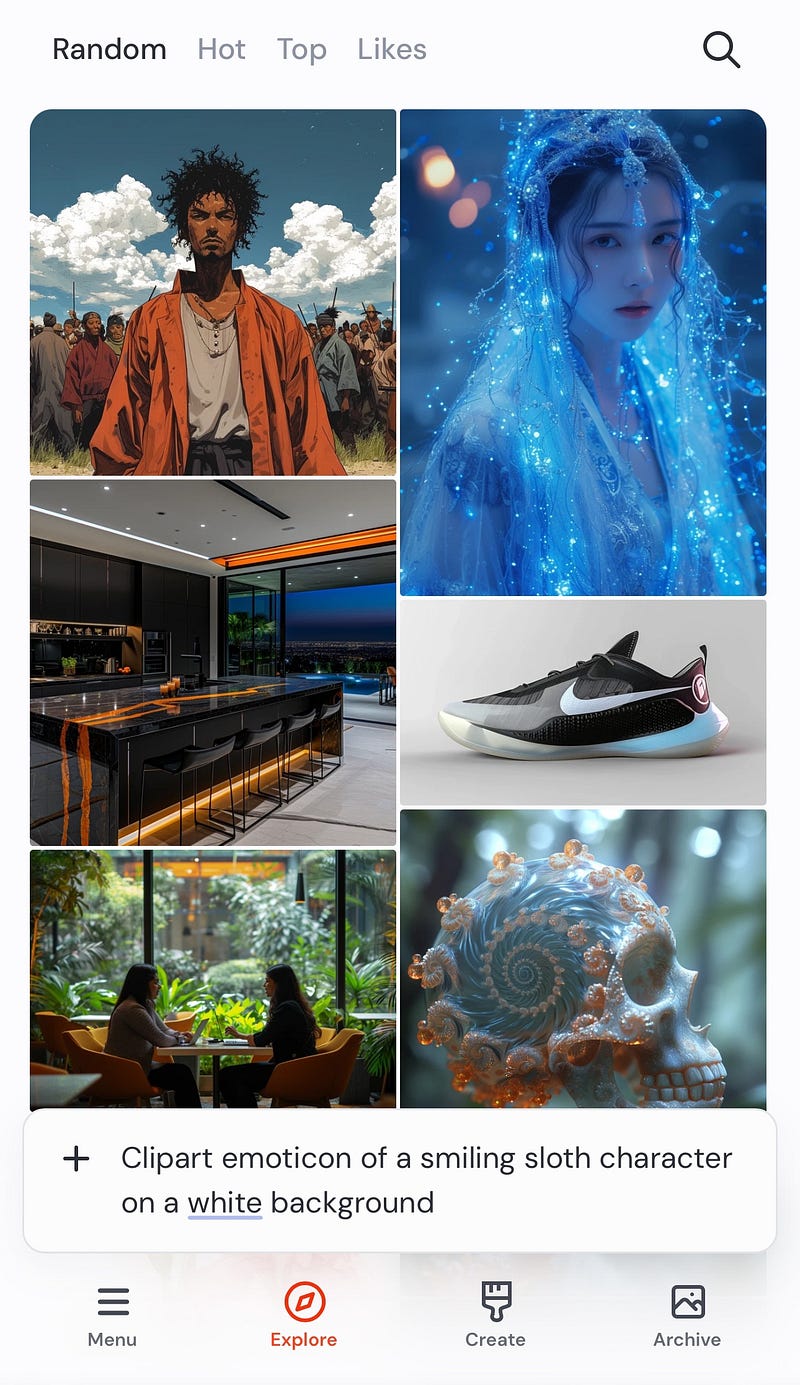
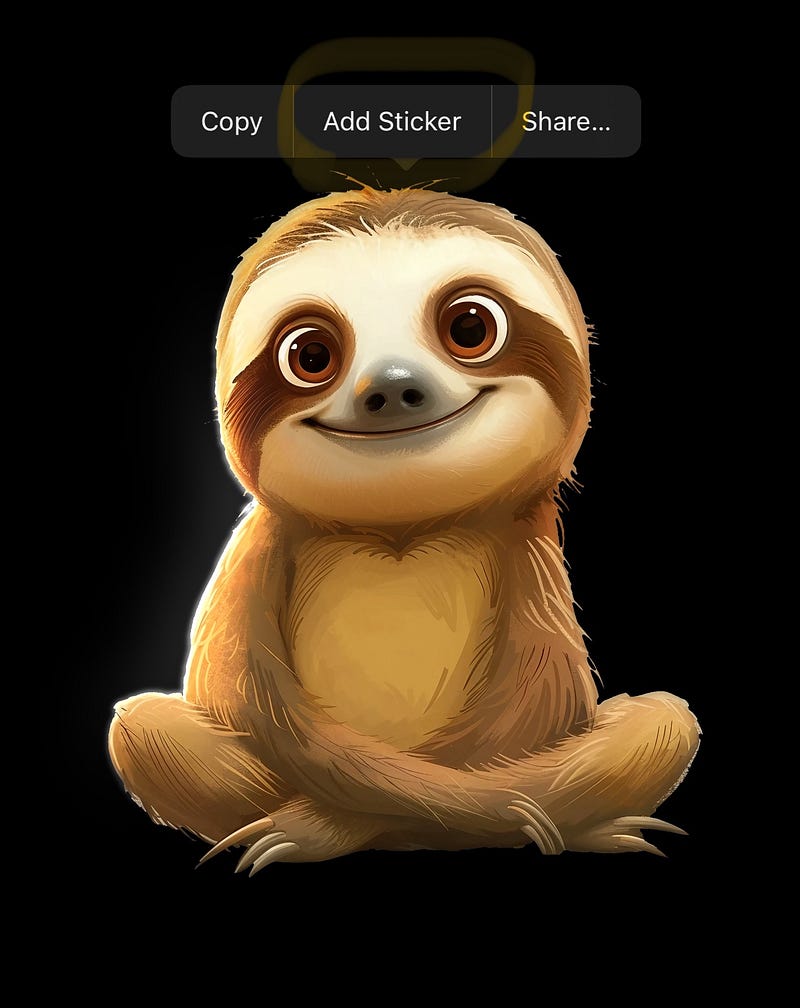
Step 1: Use your preferred AI application on your iPhone (such as Midjourney, Dall-E, or Stable Diffusion) to generate the image you want. For instance, I created a sloth emoji using Midjourney, as shown below:
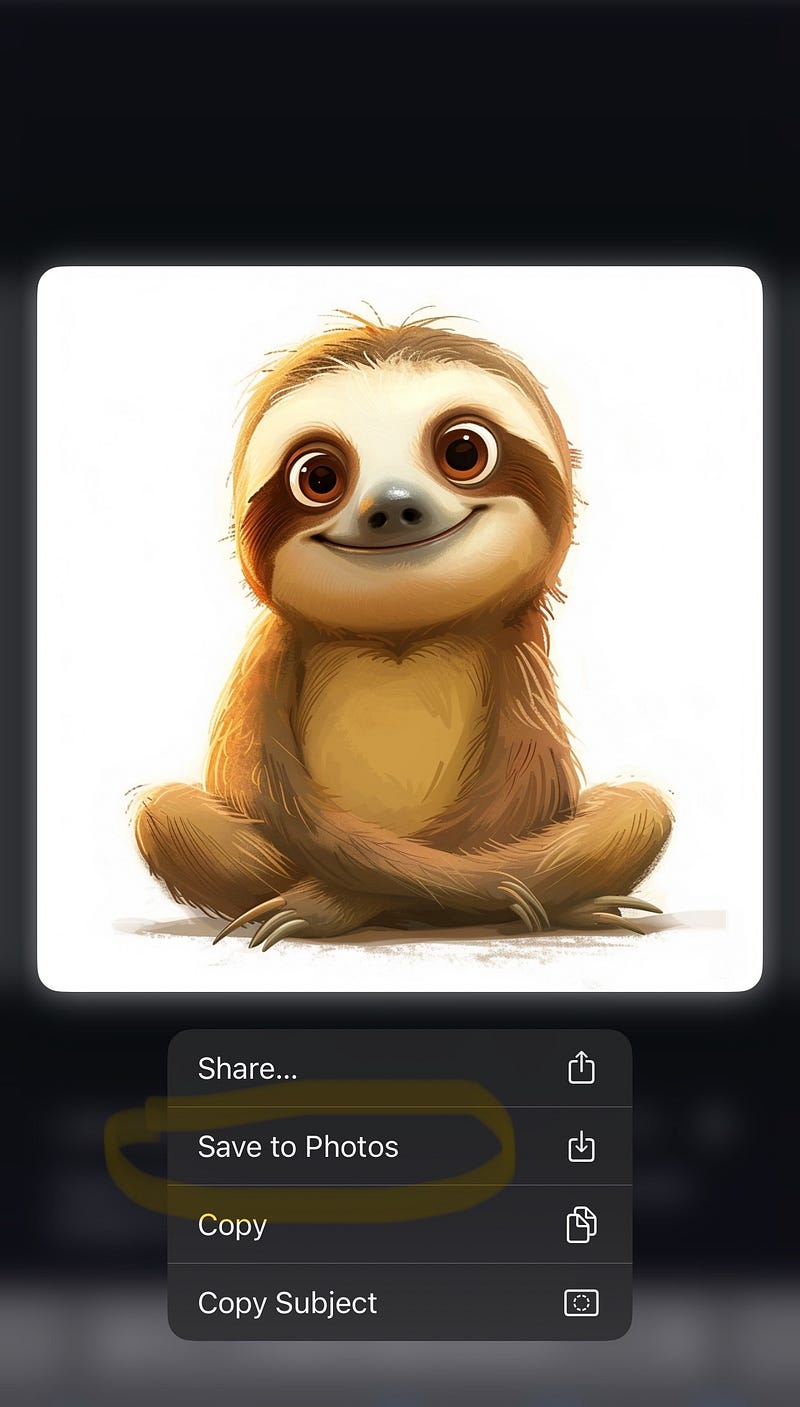
Step 2: Save the generated image to your camera roll. Each AI tool has its own method for downloading images to your Photos app.
Step 3: Open the Photos app and find the image you just saved.
Step 4: Long press on the subject until it highlights and appears to lift off the background. Then, select “Add Sticker.”
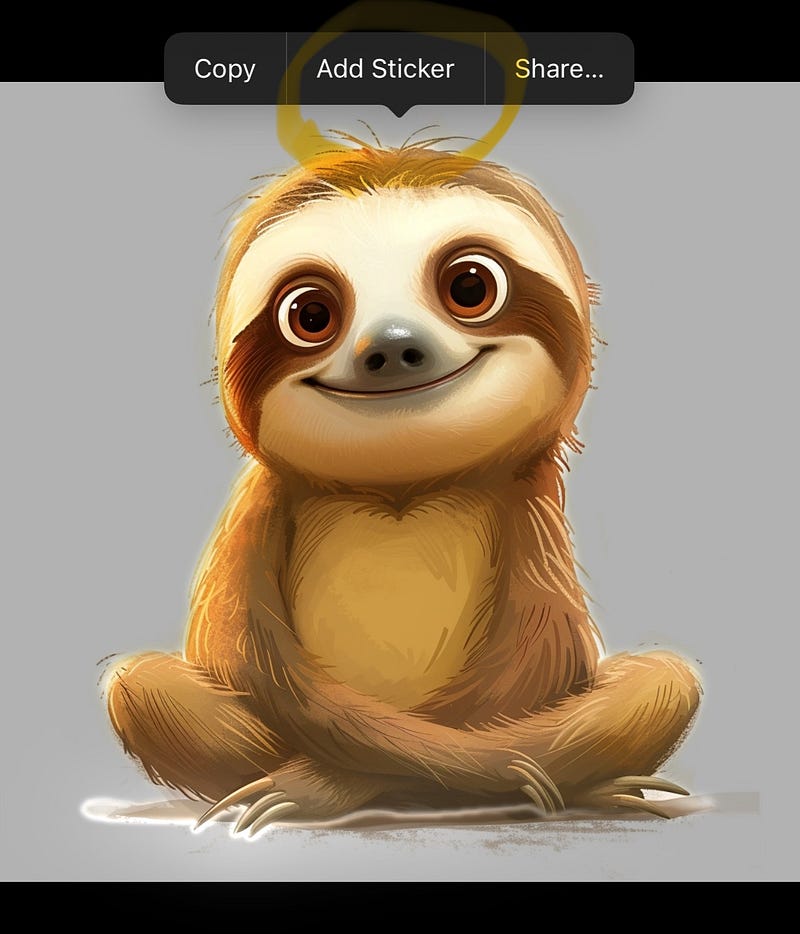
That's all there is to it! Although this method can be hit or miss—sometimes the AI may cut off parts of the image—it’s generally effective for spontaneous sticker creation.
Now, let’s examine the more detailed second method that allows for finer control over the final appearance of your stickers.
Method 2: Detailed Creation on Computer
Step 1: Use your chosen AI platform on your computer to create the desired image.
Step 2: Refine the image by removing any unwanted elements. I typically use Affinity Photo for this step, but you can choose any software you prefer.
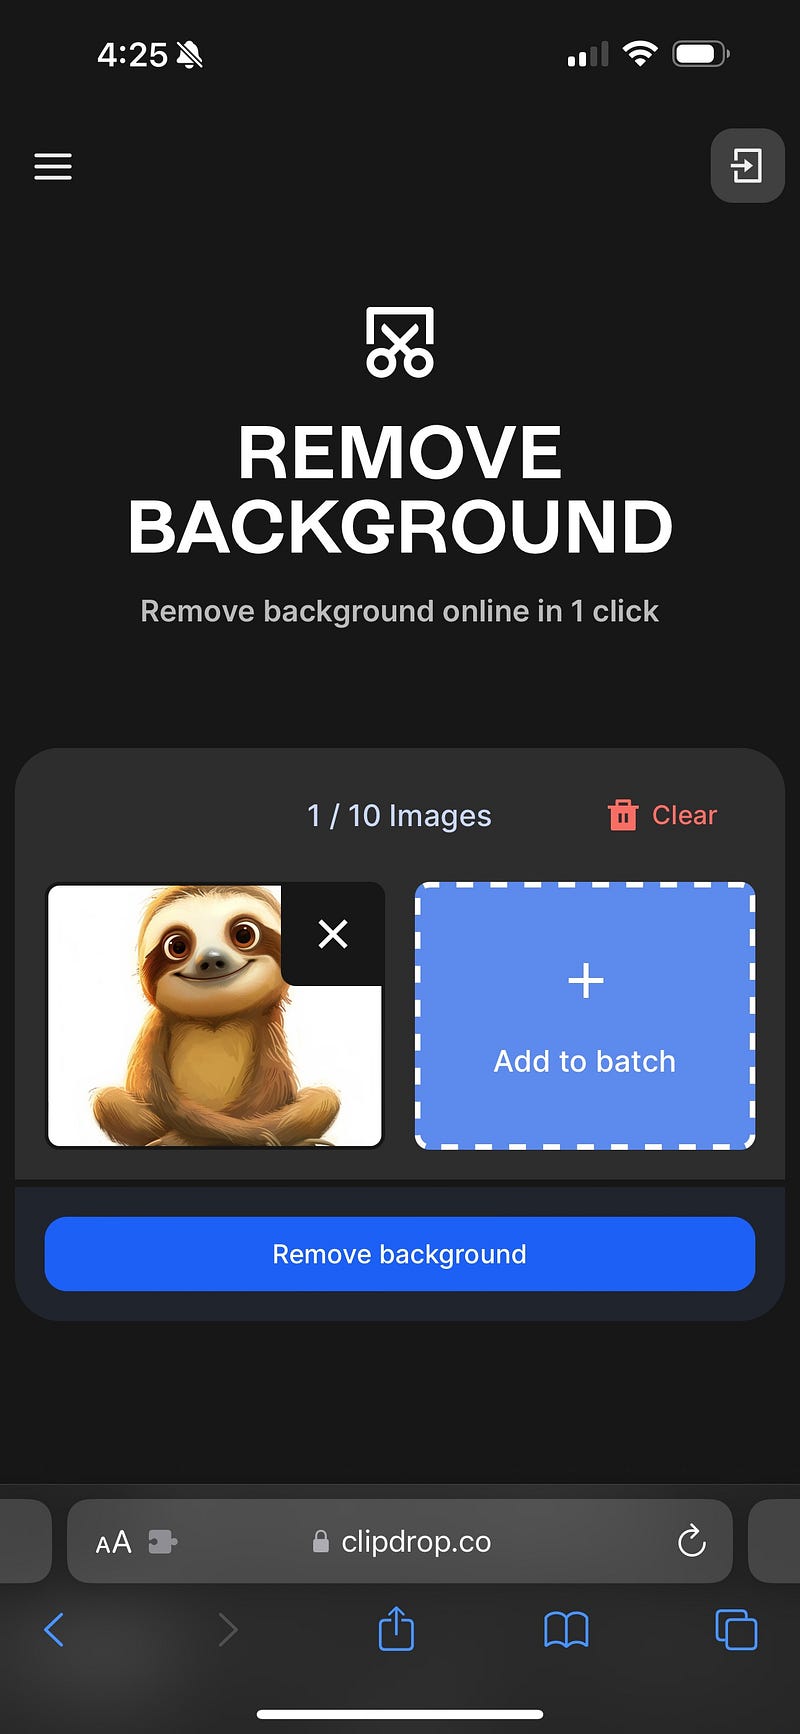
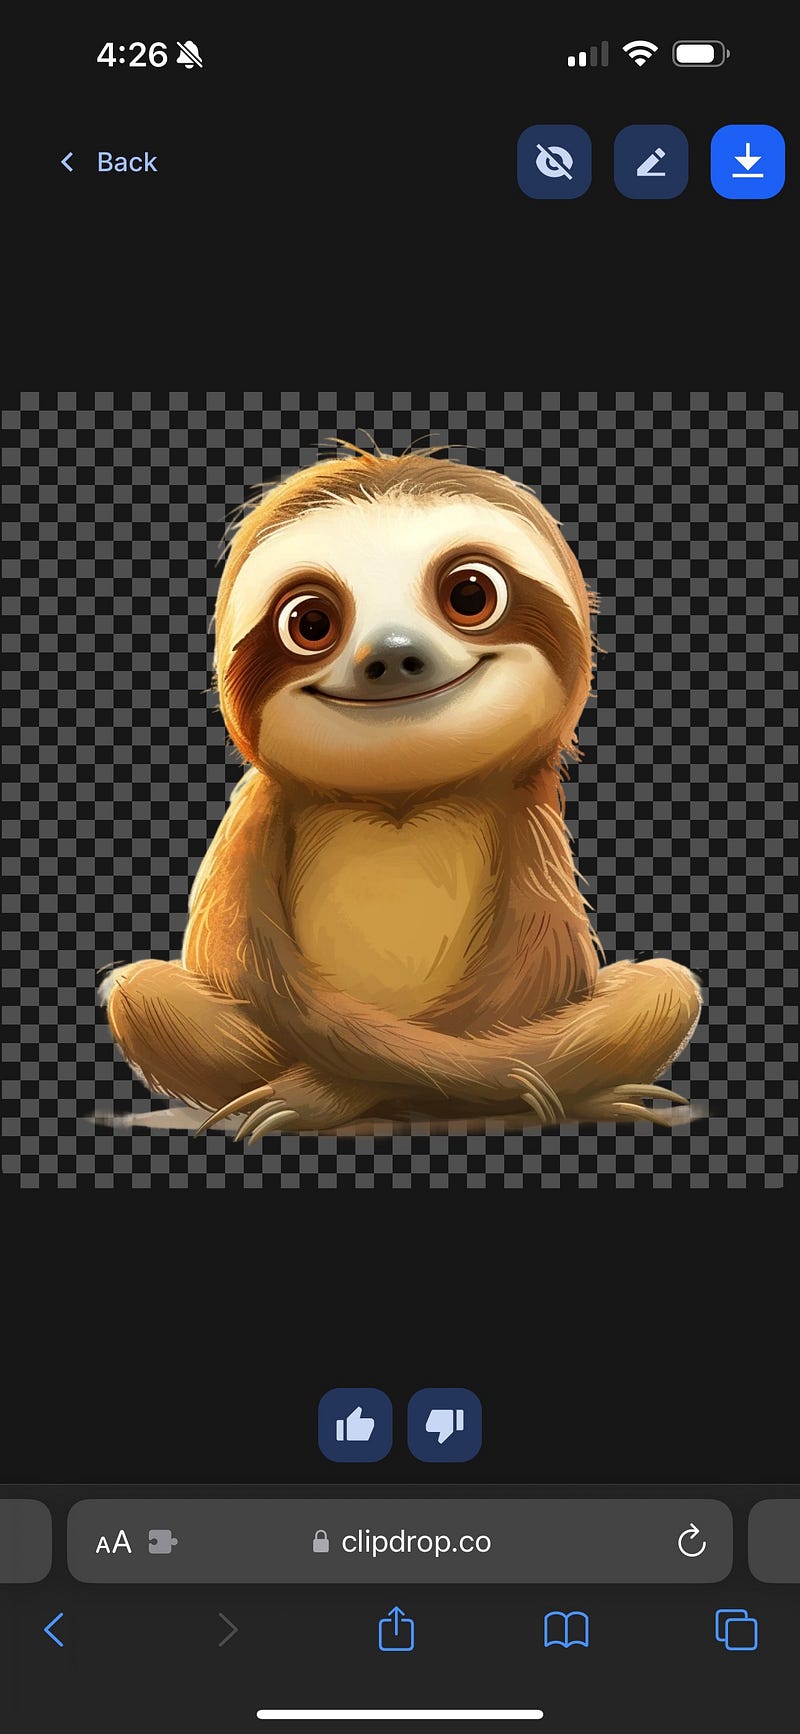
Step 3: Remove the background of the image. I recommend using Clipdrop for this, as it does an excellent job in most cases.
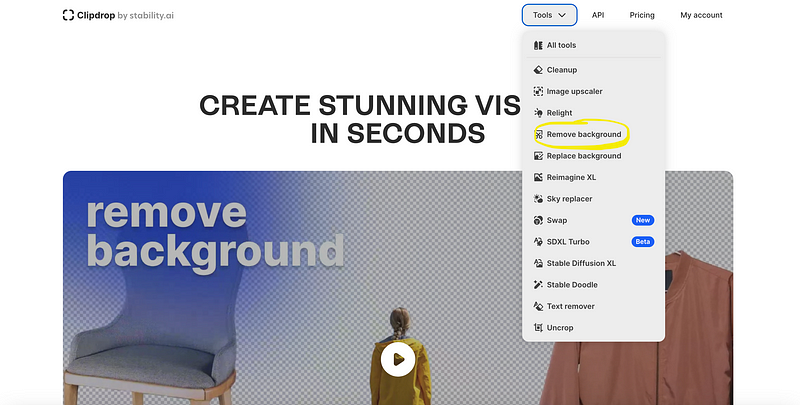
This process should leave you with just the subject that will become your sticker.
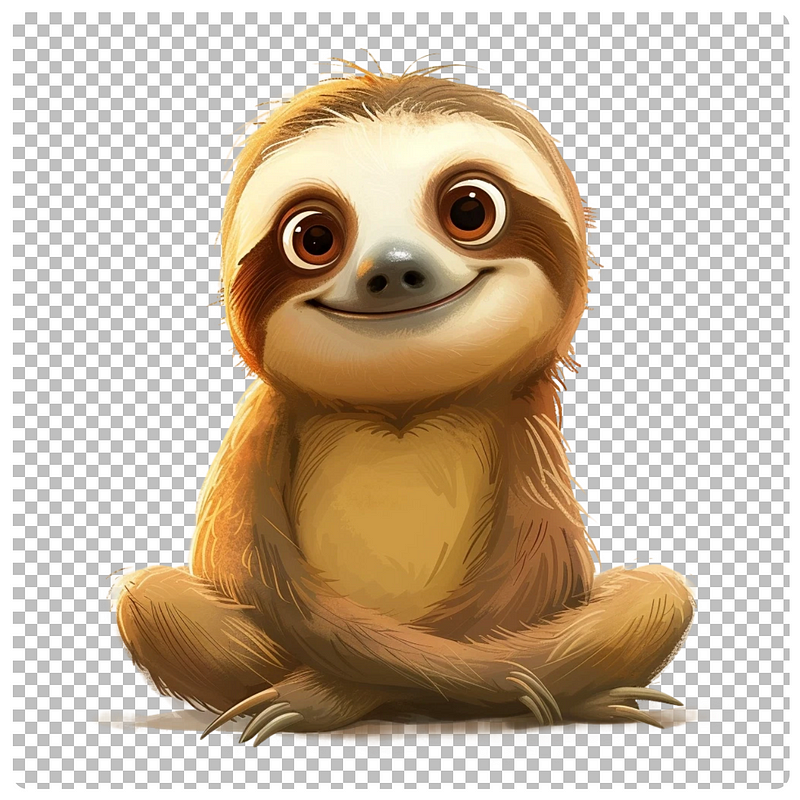
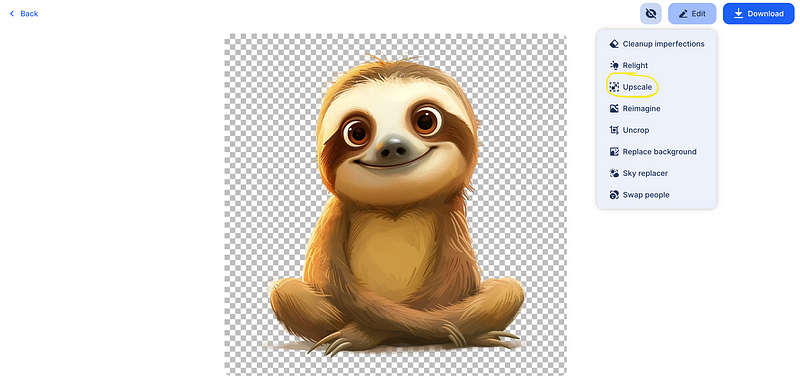
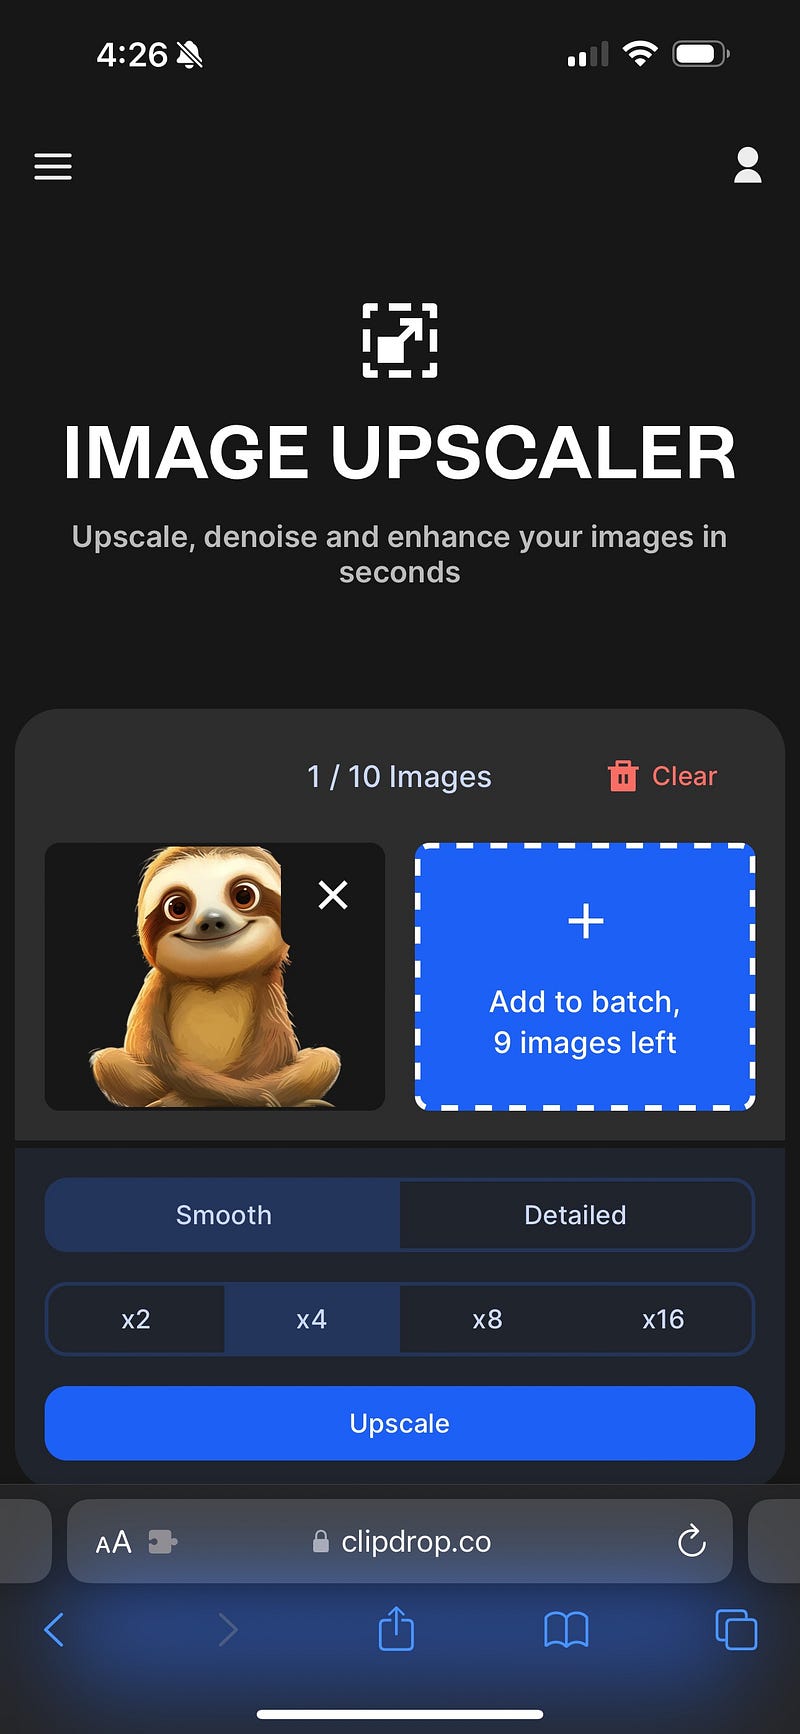
Step 4: (Optional) Upscale the image using Clipdrop to enhance its sharpness and clarity.
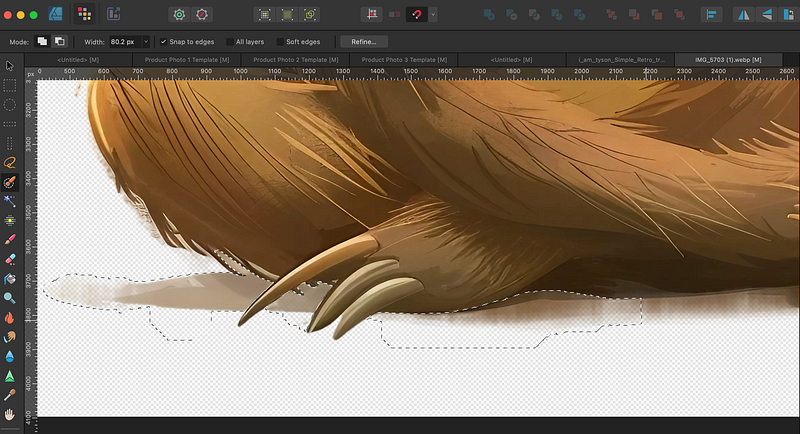
If necessary, you can also edit out any unwanted shadows or imperfections using Affinity Designer.
Step 5: Transfer the image back to your iPhone, preferably using AirDrop for quick access.
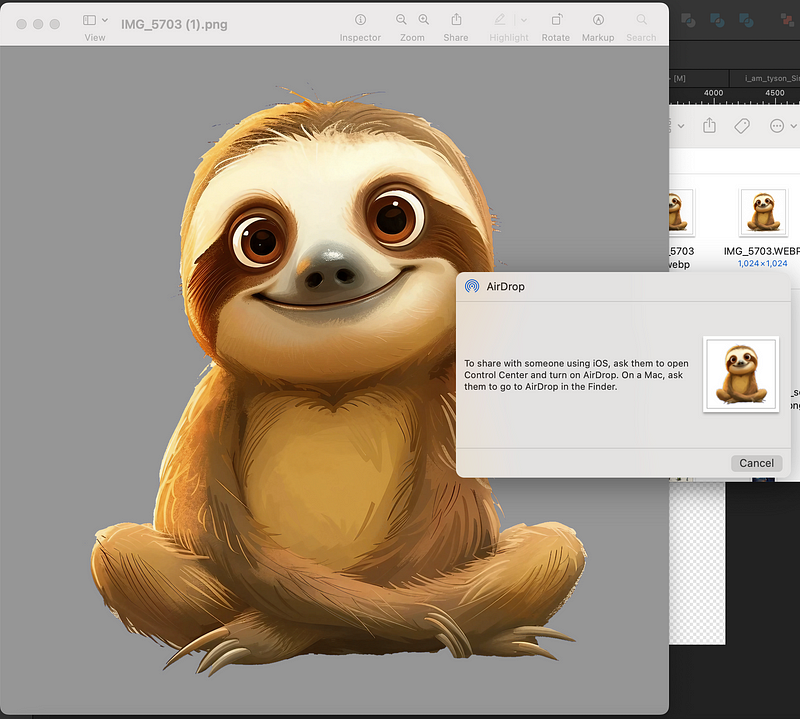
Step 6: Add your newly created sticker to iMessage by navigating to the image, long pressing, and selecting “Add Sticker.”
The key difference between the two methods lies in the background removal; Method 2 ensures no parts of the image are missing, and the overall quality is improved.
However, you can also achieve the results of Method 2 using Clipdrop directly on your iPhone, allowing for similar enhancements without switching devices.
To use your stickers in iMessage, simply tap the “+” next to the text box, select “stickers,” and your custom stickers will appear in the user-added group. Drag your sticker into the message, and you're all set!
Conclusion
Thanks for following along! If you found this guide useful, please show your support by liking and subscribing for updates on future content!
Explore an AI sticker generator to create unique designs for your chats.
Learn how to create stickers for sale using AI tools like Midjourney and Photoshop.